By team dryurl | On Nov 17, 2024 | In guide
Managing tags in Dryurl can be a simple and effective way to organize and categorize your content. Tags are a useful feature for users on the paid plan, allowing them to better manage and sort links, posts, or other digital assets. In this guide, we’ll walk you through the easy steps to create and edit tags in Dryurl.
To get started, you’ll need to log into your Dryurl account. Please note that tags are only available for users who are on the paid plan. If you’re not on a paid plan yet, consider upgrading to take advantage of this useful feature.
- Go to the Dryurl login page.
- Enter your credentials and click. Login
Once logged in, you can manage your tags by following these simple steps:
In the top menu bar, locate and click on the Manage Tags link. This will direct you to the tag management interface.
To create a new tag, simply follow these steps:
That’s it! Your new tag will now appear in the list of available tags.

Editing an existing tag is just as easy:
That’s it! Your tag has now been updated.
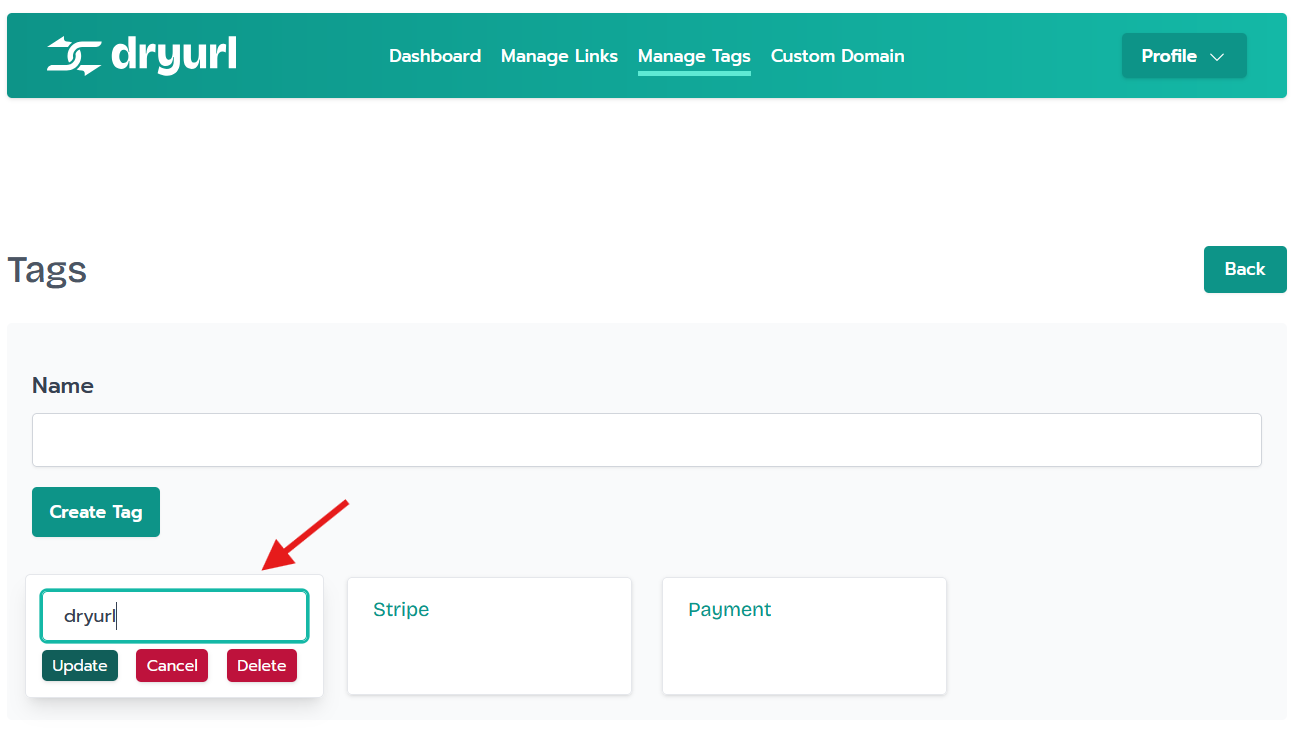
If you want to cancel your changes or delete a tag, you have a couple of options:
With just a few simple steps, you can easily create and edit tags in Dryurl to better organize your links and posts. Whether you’re categorizing content or simply cleaning up your workspace, Dryurl’s tag management feature makes it quick and easy to stay organized.
Need more help or have questions about using Dryurl? Feel free to reach out to our support team, and we’d be happy to assist you.
By following this step-by-step guide, you’ll be able to maximize the potential of tags in Dryurl and streamline your url management process. Happy tagging!